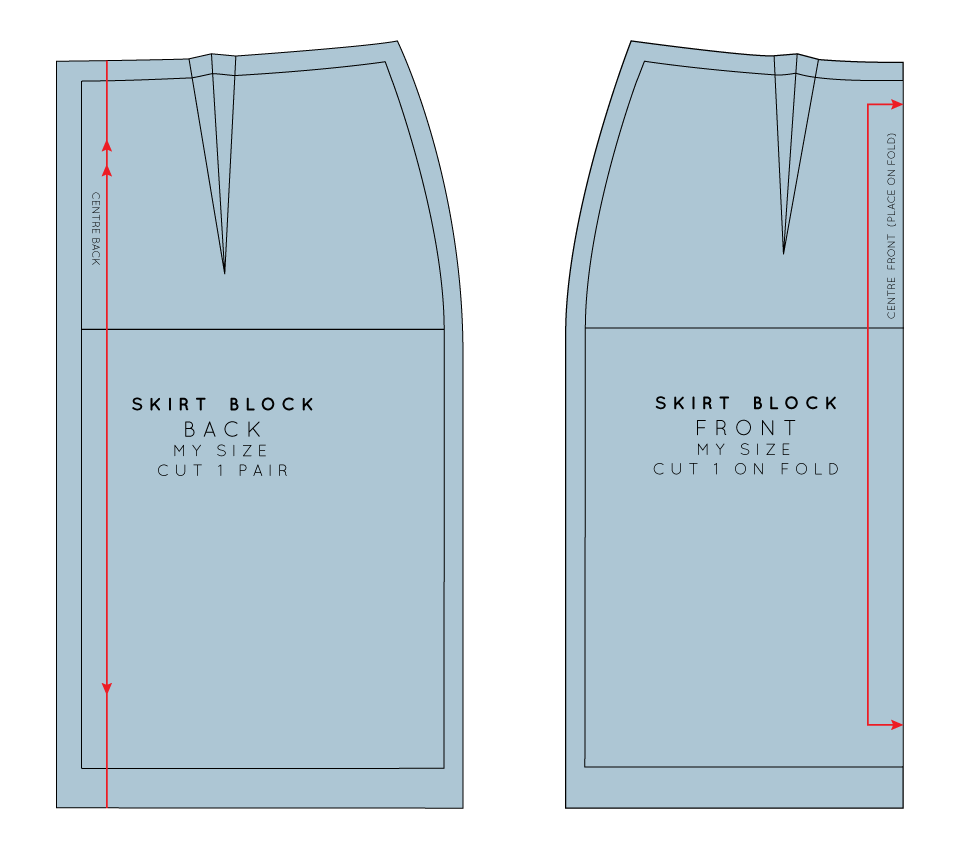
how to transfer sewing pattern markings right sides together
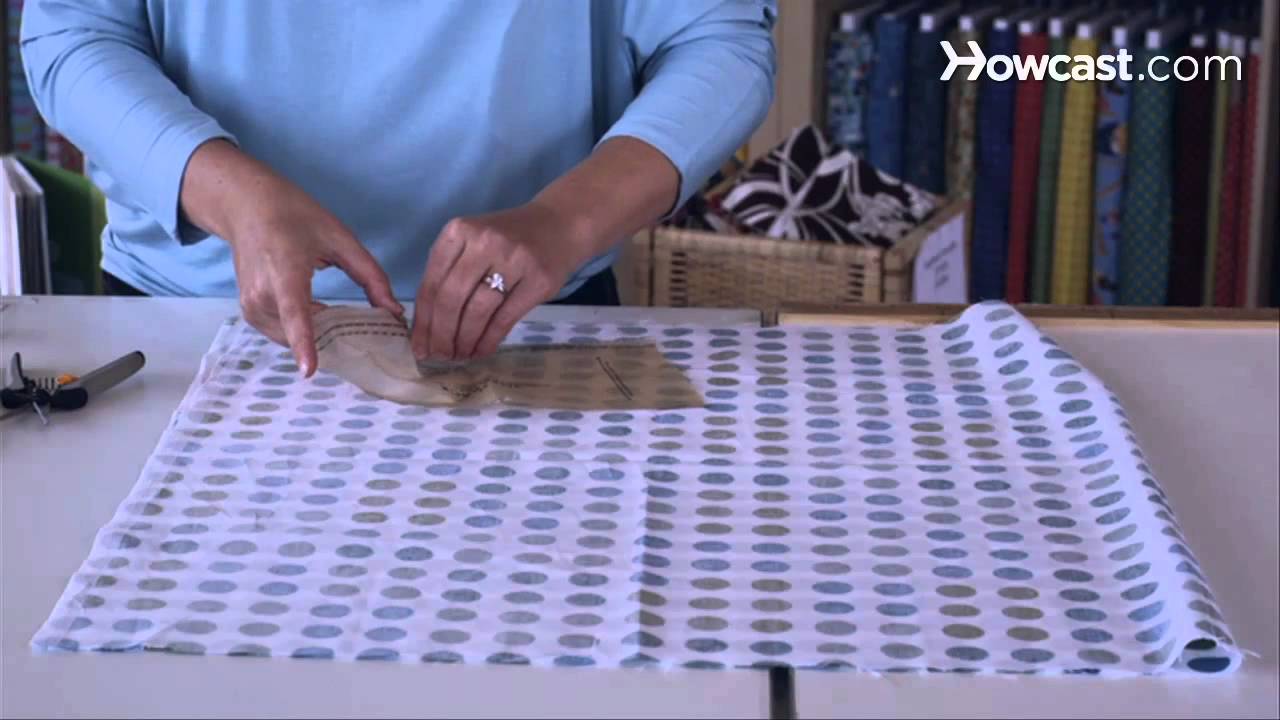
To transfer the pattern markings leave the pattern pinned to the fabric. The easiest method to transfer pattern markings is using a good old fabric marking tool.

Fabric Marking 3 Easiest Ways To Mark Treasurie
Besides it is really the quickest way how to transfer your markings and pattern lines between paired pieces eg.
. Before you begin read your sewing pattern to see if it is printed in the actual size or if youll need to enlarge on a photocopier. For transfer paper use tape for pattern paper reinforcement. Tie the tail and trim it Press the darts downwards.
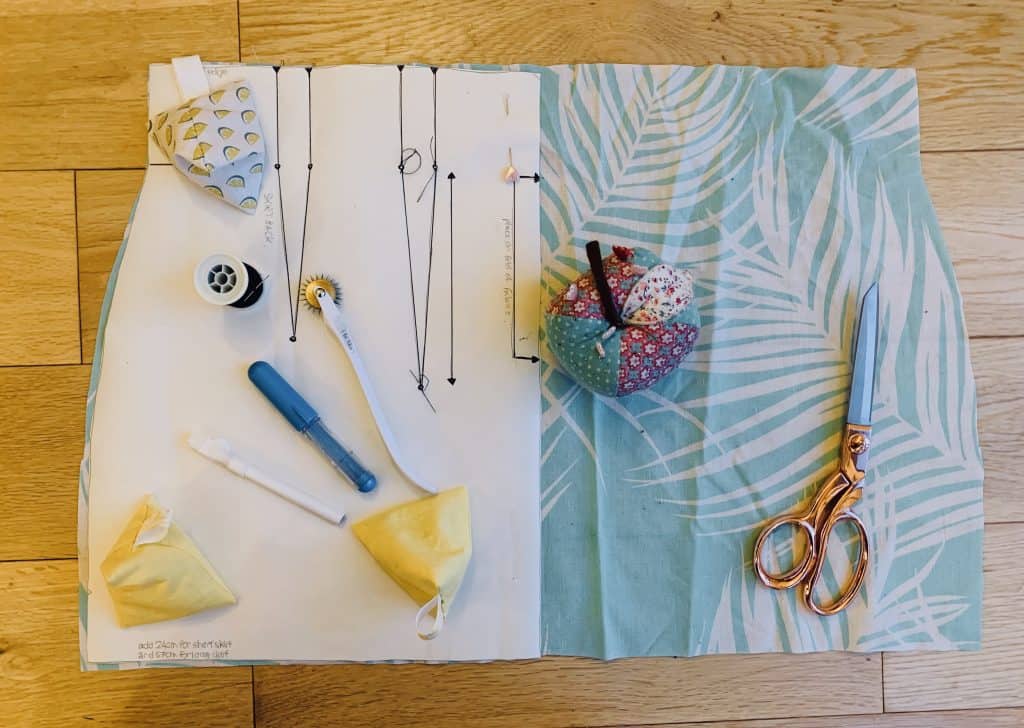
Sleeves front pieces collars etc. Make sure to transfer all the markings for the darts Fold to match the markings and pin RST Right Side Together Sew from the edge to the dart point At the dart point do not backstitch and leave long thread tails. Trace the lines with your tracing wheel and press firmly.
Many people consider transferring patterns to fabric using tracing paper and tracing wheel the hardest but it is not. Pin down the pattern to the fabric. To mark a dart remember to mark the twice points on the side along with the point in the middle of the pattern.
With the shiny side of the freezer paper facing down use a pencil and ruler to trace the outline of your pattern on the freezer paper. Tracing paper will transfer the patterns or the pattern markings on to the wrong side of the fabric. Sew the yoke to the back with a 58 seam allowance.
SEW BOWL COZY PIECES TOGETHER. Open the fold you pressed and with right sides together lay the back yoke on the back jacket piece matching the single notches. Iron the seams and.
Pin around the outside of the bowl cozy. TRANSFER PATTERN MARKINGS Lay pieces with interfacing right sides together and pin on the pattern pieces again. Fold the fabric in half with right sides facing and pin the darts in place.
Next put the marking side of the tracing paper on the wrong side of the fabric. Roll out freezer paper to completely cover your printed sewing pattern. The most common are items such as tailors chalk.
Place the other bowl cozy inside with right sides facing together. So you are going to put the fabric right side up take your pattern piece and with your tracing wheel youre going to firmly press back and forth over the mark. Sew the Hem bands With right sides together sew the corresponding front and back hem bands together at the side and in-seams.
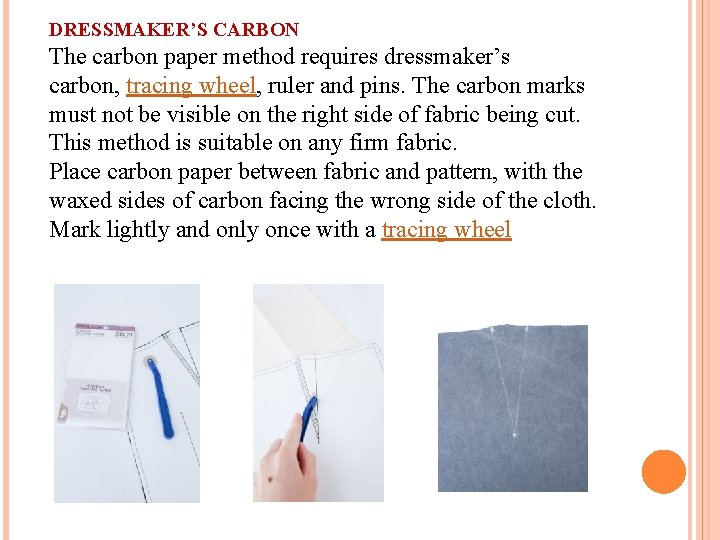
When you read sew right sides together in your instructions place the right sides or printedouter side of the fabric together line the 2 pieces of fabric up and sew. Fold the carbon paper in half so its long enough to mark the intended area. The markings will help you to align the pattern pieces together in the following steps.
Pin the side seams together on both sides of the fabric. Stitch in the ditch 35cm. Place the marking side of the paper on the wrong side of the fabric.
TRANSFER PATTERN MARKINGS Lay all interfaced pieces right sides together again fold in half. If the wrong sides of the fabric. Next take your collar and lay the narrow edges together right sides together.
Do the same for the sleeves and then stitch all the pinned areas. Click below to view the video. Singer Beginners Sewing Kit.
With right sides together match the front facing pattern piece D to the front bodice pattern piece A at the neckline. Transfer all pattern markings to the wrong side of the fabric before removing the pattern pieces unless indicated. Line up the transfer paper to your fabric position the pattern piece on top and use pins to hold it together.
Use dressmakers carbon paper and a tracing wheel to transfer the pattern outlines seam and hem lines and all. Top Rated Products for Every Sewing Project. Its helpful to draw your stitch line in with a marking tool to ensure youre sewing in a straight line.
As thicker fabrics are generally used for this type of garments even if some of the chalk remains visible on the wrong side of the fabric there wont be any sign of it on the right side. Follow instructions included with the carbon paper. Sew your fabric.
Make sure that you use a marking pen that is visible and precise as these markings are probably the most important ones to transfer accurately. Pin on pattern pieces again. If you had a pattern piece that had a dart you would very firmly press along the.
Fold the tracing paper in a way so that is long mark the required area of the fabric. The wrong side is the other side. The right side has the print on it or the correct texture or the side you really want to see on the outside of your finished product.
Sew around the raw edges of the bowl cozy leaving a 3 hole for turning. This is where your fabric marking pen will be essential. Place on bowl cozy out in front of you with the right side of the fabric facing upwards.
Use dressmakers carbon paper and a tracing wheel to transfer the pattern outlines seam and hem lines and all other markings to the wrong side of the pieces. Transfer all markings from the patterns to the fabric with a washable marking pen.

Pattern Symbols

How To Mark Your Fabric For Sewing Updated Youtube
Transferring Pattern Markings From Paper S Suganthi M

Sewing Pattern Symbols Guide Treasurie

The Basics Of Home Sewing The Sewing Pattern Part 2 Sew Not Complicated Atelier De Couture
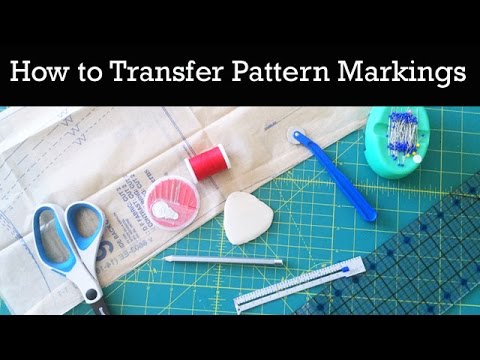
How To Transfer Sewing Pattern Markings Sewing Lessons Youtube

How To Read A Sewing Pattern Common Sewing Pattern Markings And What They Mean Sewingmachine Sewingprojec Sewing Measurements Teaching Sewing Sewing Basics
![]()
How To Turn Any Tee Pattern Into A V Neck Megan Nielsen Patterns Blog

3 Beginner Draping Pattern Markings Transferring To Paper Mood Sewciety

Adding Pattern Markings To Your Patterns In The Folds
How To Transfer Pattern Markings To Fabric
Adding Pattern Markings To Your Patterns In The Folds

Sewing Pattern Symbols Guide Treasurie

The Sewing Pattern Tutorials 11 Pattern Symbols And Fabric Marking Tools The Foldline
![]()
How To Transfer A Sewing Pattern To Fabric The Creative Folk

Sewing Pattern Symbols Guide Treasurie
How To Transfer Pattern Markings To Fabric Youtube

The Sewing Pattern Tutorials 11 Pattern Symbols And Fabric Marking Tools The Foldline

How To Read A Sewing Pattern For Fabric Layout And Cutting Sew Simple Home